Mexican Hat: Marigold Flowers
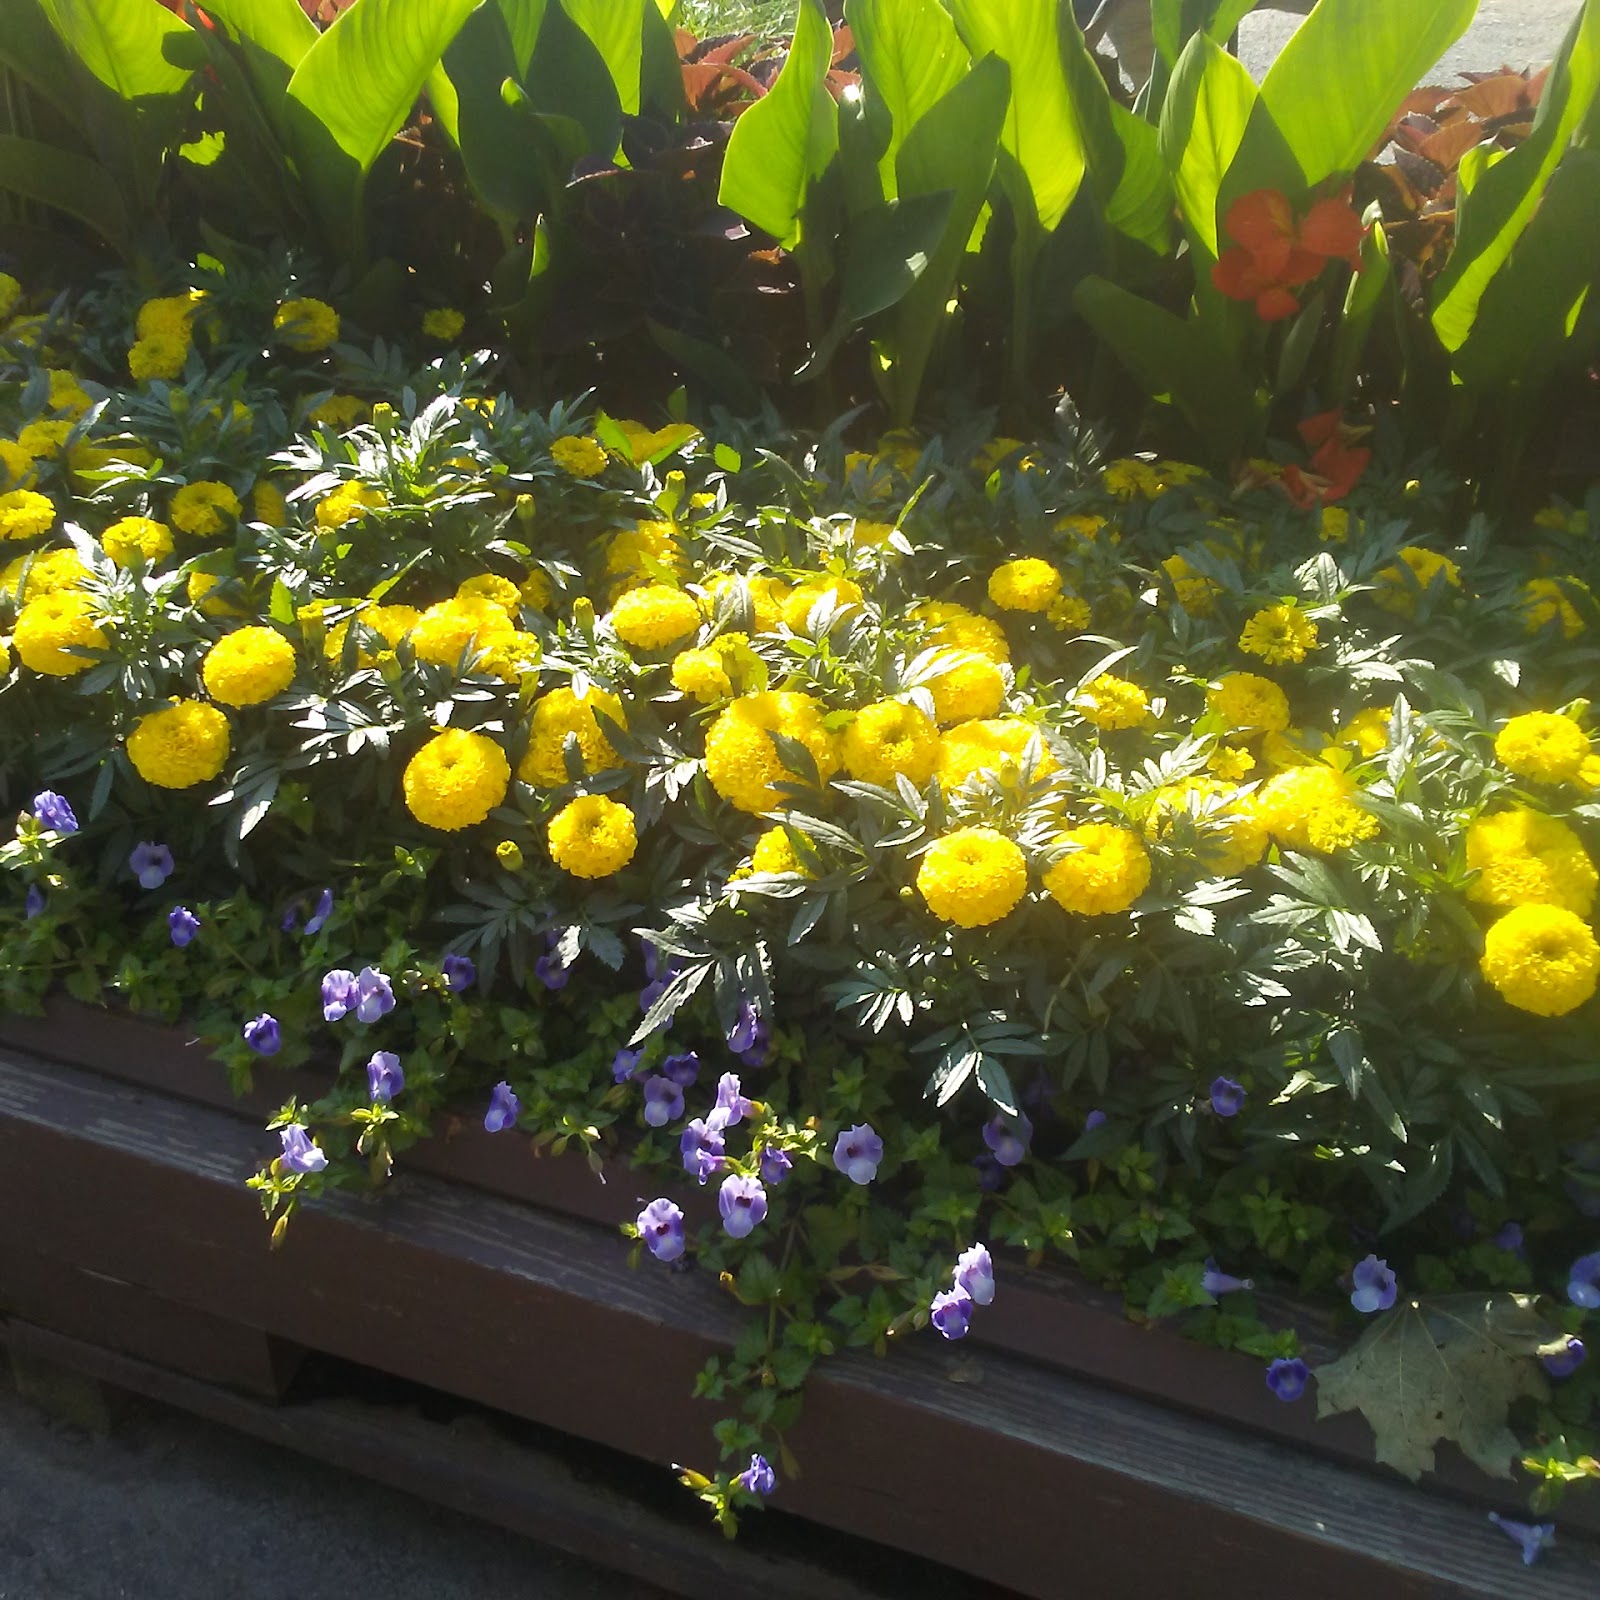 |
| The Yellow Marigolds are a childhood favorite we spotted at the lovely Knoebels. |
 |
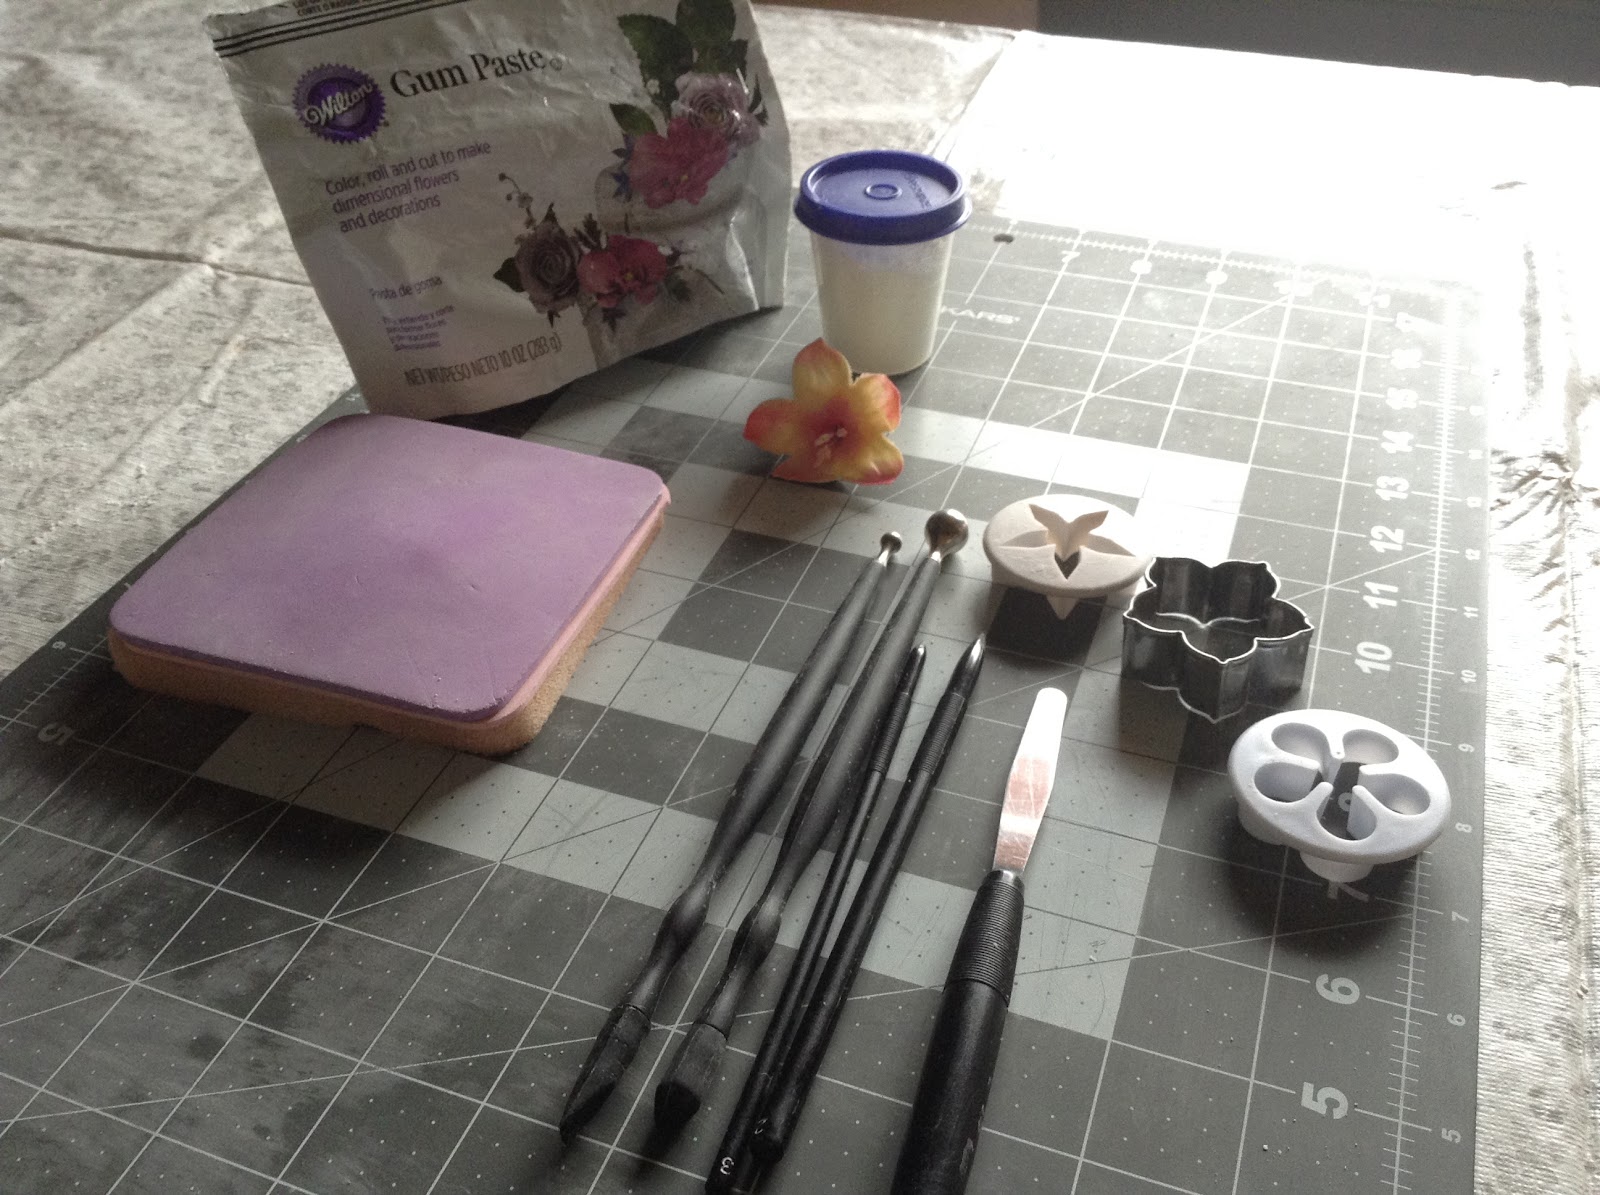
| It's fun to try and duplicate the colors people display in their flowerbeds or that I spot in different places. See the supplies to create this interpretation of a Marigold in the pictures below. |
 |
`  |
the main things you'll need is ; gum paste or a
mixture with modeling chocolate, cornstarch and flower cutters to start.
mixture with modeling chocolate, cornstarch and flower cutters to start.
Theme: Marigolds for flowerbed sheet cakes
The best part about gum paste is it hardens fast almost like porcelain, that’s also the downside.
Working quickly and storing clay you aren’t working with keeps it from drying out.
Just adding a little modeling chocolate or fondant will give a softer result.
The resting spot for flowers is an egg carton or spoon tray. Turn the flowers upside down on a small piece of a cotton ball.
List of Supplies
- Gumpaste and Modeling chocolate Ratio 2 to 1
- Cornstarch
- Marigold, 5 petal or calix or other flower cutters in various sizes for layering
- Foam mat set
- Ball tools Medium to small
- clay rolling pin or roller,
- Pointed clay tools and a small spatula
- Damp towel and cutting board
- Plastic baggie for storage
- Stamen a dozen (at least two per flower) or a small round and flatten clay for the center
- Sweet glue...or powdered sugar and water
- Flower former, spoon tray or clean egg cartons and cotton balls
- Petal dust or gel color for each flower
- Small paintbrushes
*Steps to Make a Marigold*
Steps Measure out 32g of clay Makes 5-6 flowers
- For large flowers separate it in half, then separate each half in half ending up with 4 pieces of clay.
- For small separate each of the 4 pieces in half, to give you eight smaller pieces of clay. You'll use smaller cutters too.
- Next place your clay in a plastic baggie or container. Each will be the base for a flower.
- Dust your cutting board surface and hands with cornstarch, especially with new gum paste or modeling chocolate
- Soften gum paste in your hands and form into a teardrop; the bottom will be the flower
- With gentle pressure, flatten out the round bottom of the teardrop between your thumb and forefinger. Then place on the dusted mat.
- Using your roller, roll out the base of the teardrop a little more to accommodate the cutter.
- Looks like a little Mexican hat, right? Place the cutter over the top of the hat and press to make a clean cut.
- Lift the scrap pieces away and remove the cutter.
- Lift the flower and smooth the edges again with a gentile snapping motions, using your thumb and forefinger/pointing finger.
- Using your tool with the point, poke the inside of the flower center where the top of the teardrop is, but don’t go through it.
- Even if you do you can easily mend the tear with your fingers while you place in the stamen
- Gently push in the stamen and form the clay around the stamen.
- Set the flower on upside down on the tiny cotton ball.
- That was fun, Let’s make another.
- When all the flowers are dry they are ready to paint...if you didn’t color the clay already.
- If you are placing center’s on your flowers, you really don’t need to poke a whole.
- I used a bit of sweet glue and ground nutmeg to cover the surface of the centers...you could also use sugar or petal dust of any color.
- Tap out a bit of petal dust in whatever color you like and dip your paintbrush into it.
- Tap the brush to remove some of the access dust and begin to paint your flower a little at a time. Think,
- “I can always add more but I can’t take any away.”


Comments
Post a Comment